This sequence is designed for people with mild to moderate non-specific lower back pain. Some of the exercises may not be suitable or contraindicated for people with spinal discopathies such as spinal fusion, herniation, spondylosis, spondylolisthesis, spinal stenosis and severe osteoarthritis. Please consult with your doctor before doing this program.
This practice is designed to be done during the acute phase of a lower back pain episode. It is suitable for practising whilst resting in bed or on the floor.
Some guidelines for practice:
- Stay within a tolerable range of sensation. It is normal to feel some tension or discomfort as you explore stretching into muscles that are tight or in spasm. However, feel free to skip any movements or postures that are too intense or create sharp pain. If you imagine an intensity scale of 1-10 (1 being very mild sensation levels, 10 being very intense), we recommend staying below a level 6.
- If you have taken medication for your back pain such as painkillers or anti-inflammatories be aware that this can dull your sensitivity to pain. It is therefore very important to stay within a suitable level of intensity and sensation so as to avoid over-doing it.
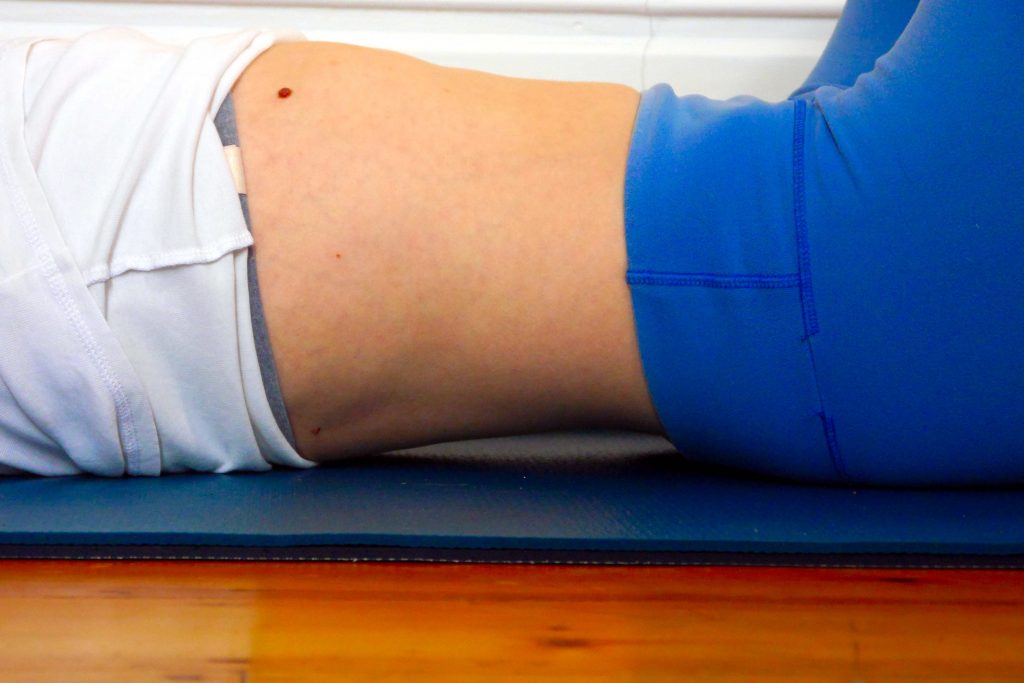
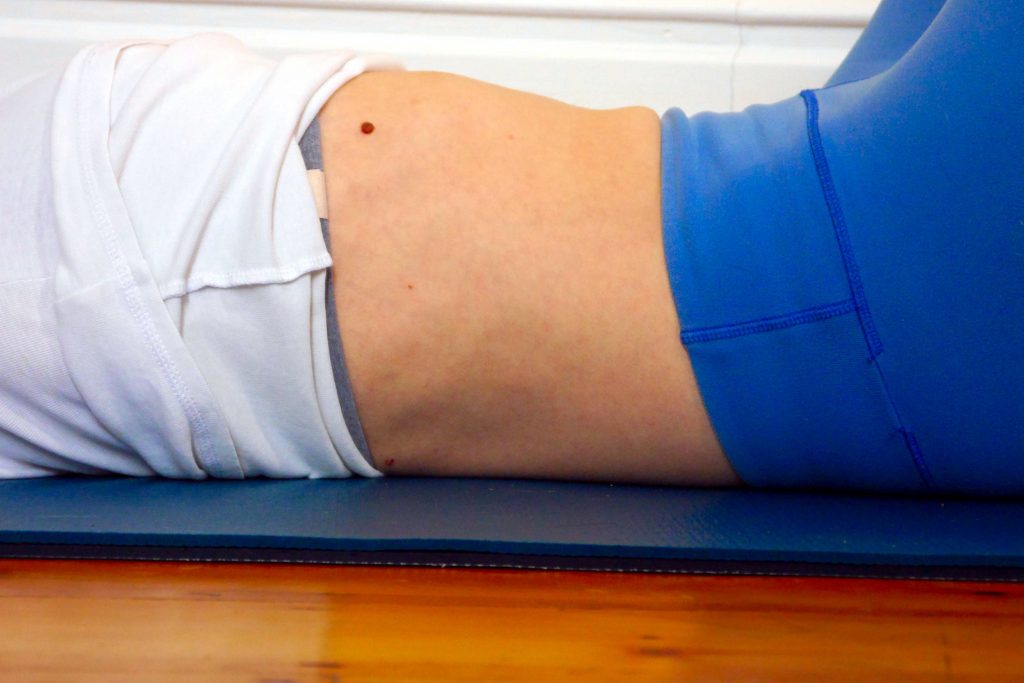
- Be mindful of your breathing as you practice, as this is the key mechanism for helping to relax the body and reduce tension. Try to stay connected to a relaxed abdominal breath throughout. The belly should gently rise as you breathe in, and fall as you breathe out.
- This practice is gentle enough that it can be done 2-3 times throughout the day.
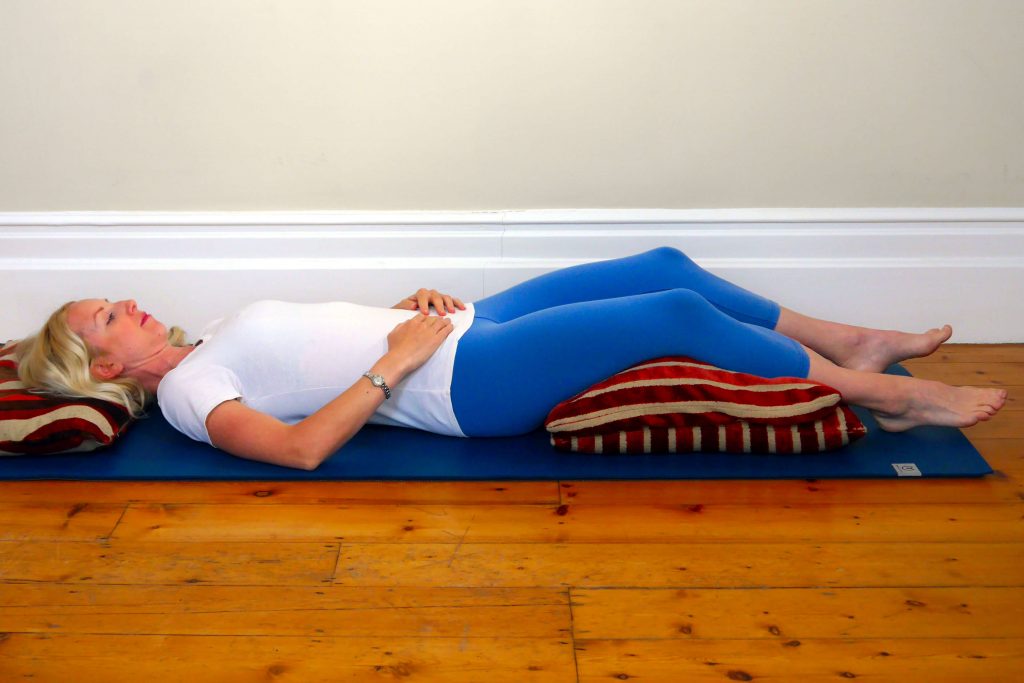
1. Relaxation pose with belly breathing
- Lie on your back with your knees propped over pillows or cushions. This pose can be done lying on the floor, or alternatively lying in bed. Put as much height as you need behind the knees to ensure comfort in the lower back. Sense that your lower back can relax completely into the floor or mattress beneath you.
- If your head is tilted back, place a cushion behind the head and neck for support so that your forehead is level or slightly higher than your chin.
- Rest your hands on your lower abdomen. As you inhale, feel the lower belly, sides of the waist and lower back gently expand outwards. As you exhale, feel the lower abdomen, side waists and lower back soften and release towards the floor. Allow this breathing pattern to be natural and relaxed – do not force it.
- Continue breathing in this way for 2-5 minutes.
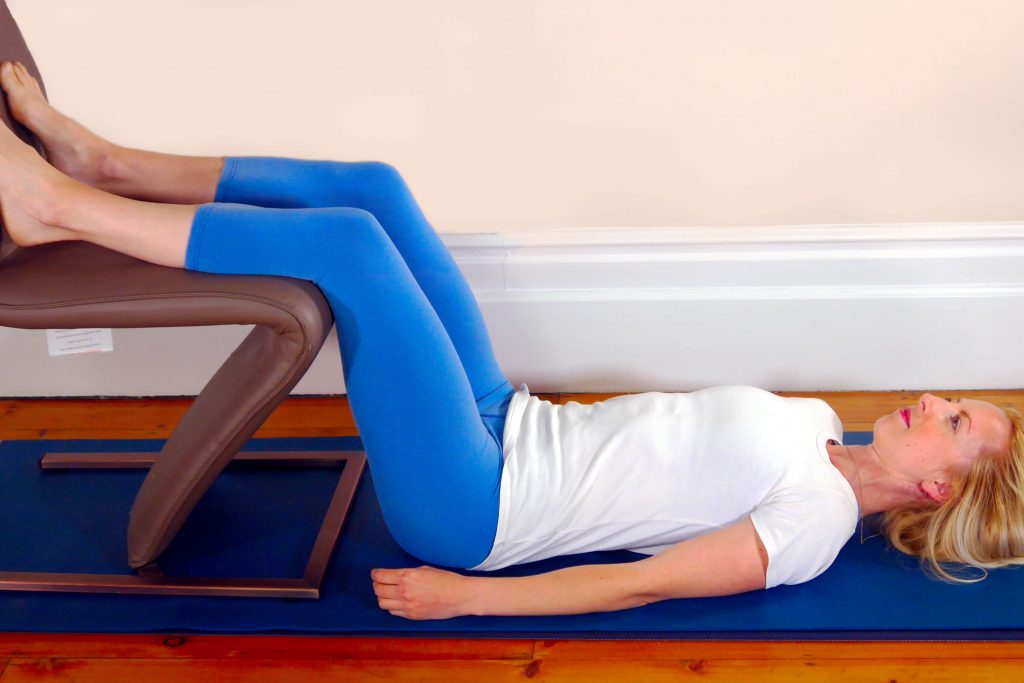
Variation: This pose can also be done lying down on the floor with the lower legs supported on a chair seat. See below.
2. Pelvic tucks
- Start lying on your back with your knees bent, feet flat and about hipwidth apart.
- Inhale into your abdomen and lower ribs, feeling them gently expand.
- Exhale, press the lower back down into the floor, allowing the abdomen to contract back towards the spine.
- Inhale, return the spine to a neutral position again allowing the abdomen to gently expand. Exhale to again contract the lower abdominals and move the lower back towards the floor.
- Repeat this simple tucking pelvic movement 10 times in total.

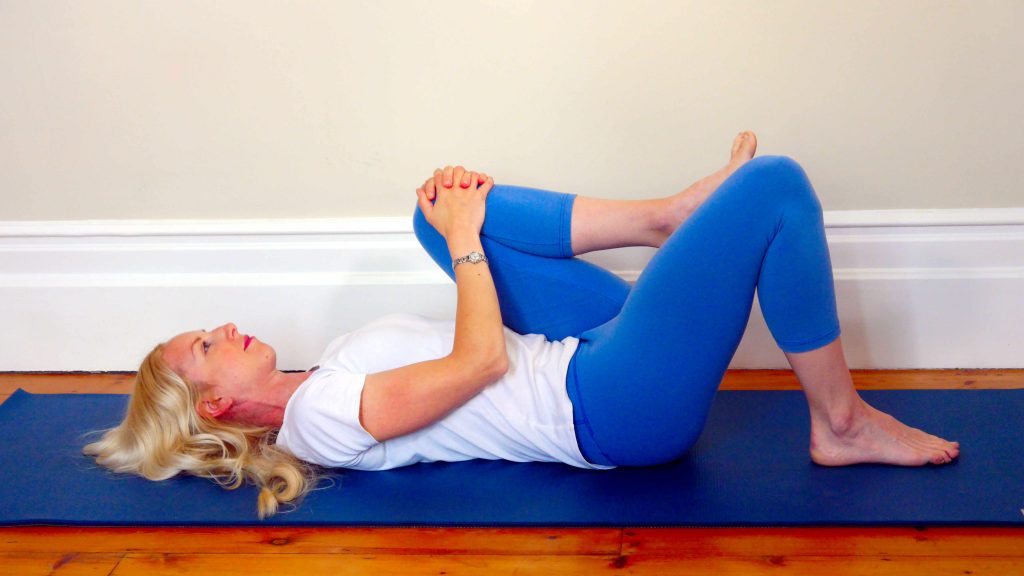
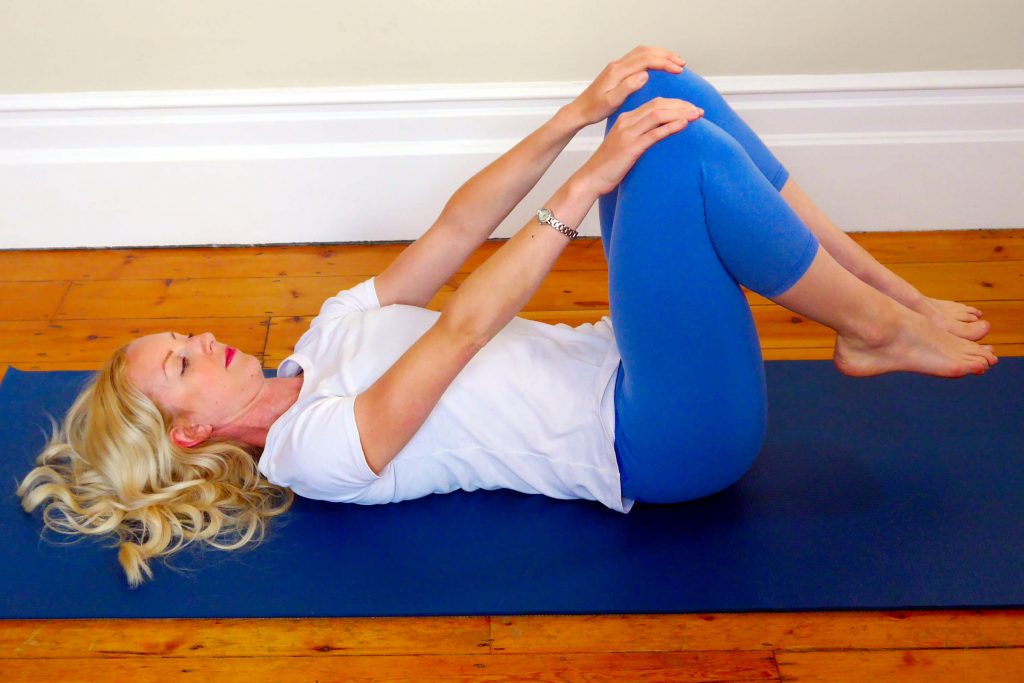
3. Single leg wind-removing pose
- Start lying on your back with your knees bent, feet flat on the floor. Take a moment to connect with your deep, relaxed belly breathing.
- On your next exhale, bring your left knee into your chest holding on to it with both hands.
- You may choose to remain still in the pose or you can explore gently rocking the knee back and forth to help open up the left side of the lower back.
- Remain for 5 breaths and then switch sides.
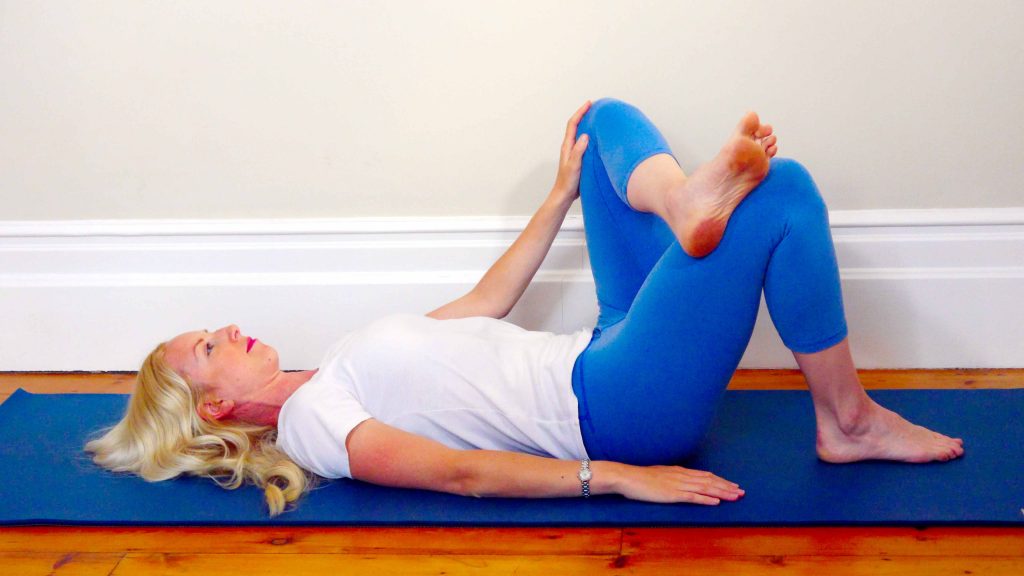
4. Supine pigeon variation
- Start lying on your back with your knees bent and feet on the floor. Take a moment to connect with your deep, relaxed belly breathing.
- On your next exhale, take your left ankle and place it over your right knee. Allow your left knee to open out to the side, creating a stretch down the outside of the right hip.
- If comfortable you can use your left hand to gently press your knee out further to increase the stretch into the outer hip. .
- Hold the pose for 5 breaths and then switch sides.
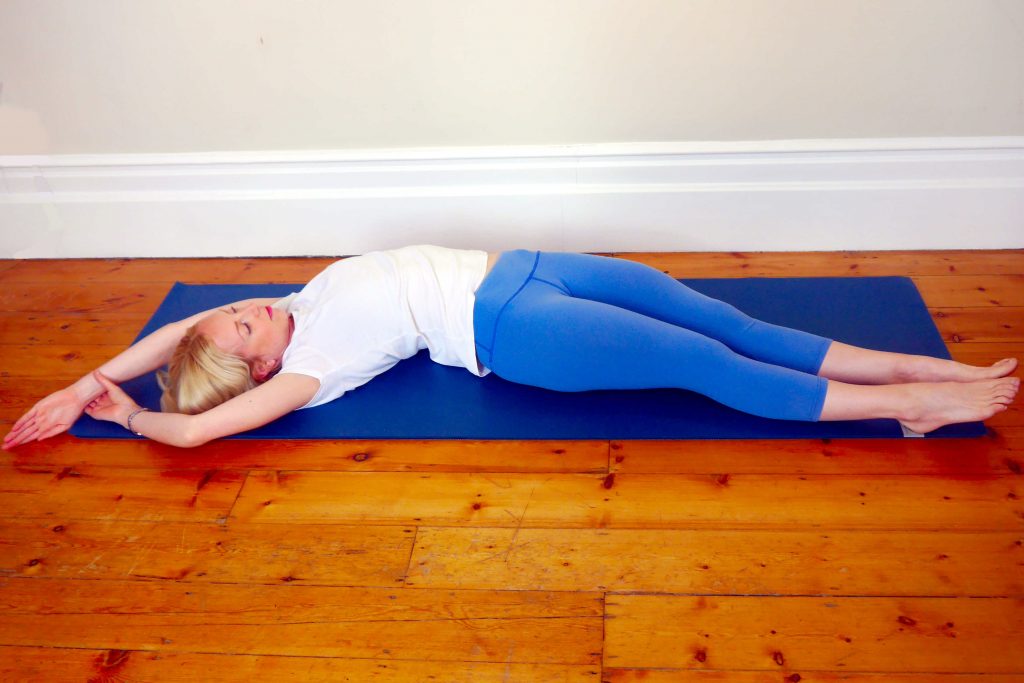
5. Banana pose
- Start lying on your back with your legs straight.
- Keeping your hips still, on an exhale slide your legs slightly over to the right side of the floor. Take your arms overhead and slide your upper body and arms slightly to the right.
- Your body will now be in a side bend to the right with both buttocks evenly on the floor.
- You should feel a gentle stretch running down the left side of your body.
- You can hold onto your left wrist with your right hand. If you feel any discomfort in your shoulders, you can bend the elbows and rest the forearms on the forehead, or even bring the arms down to your sides.
- Take 5 relaxed abdominal breaths and then return to center before switching sides.
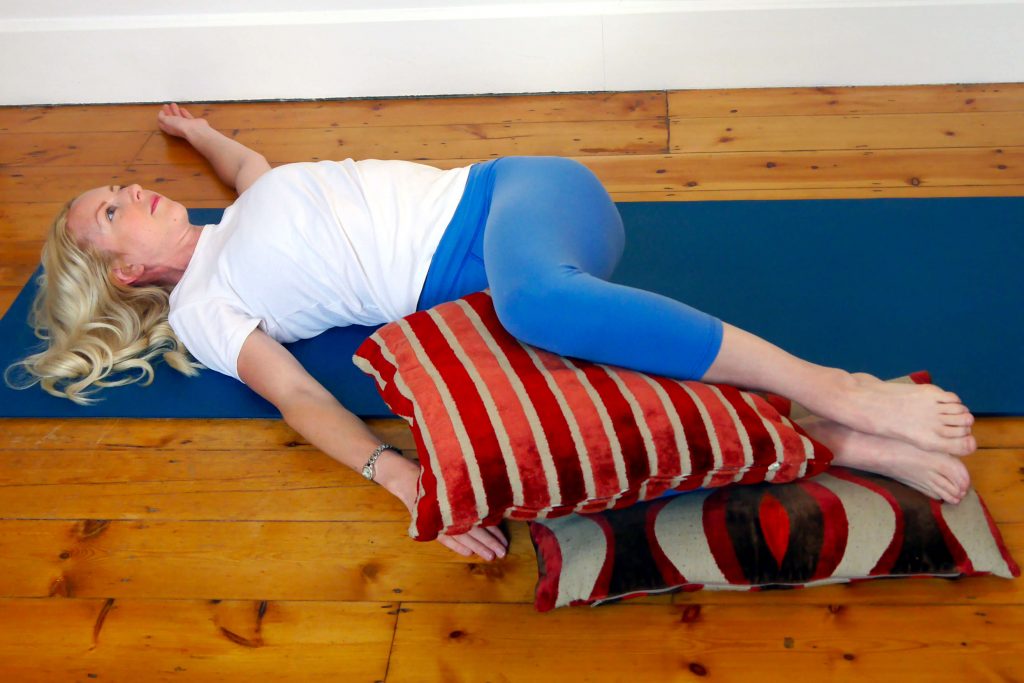
6. Gentle supine twist
- Start lying on your back with your knees bent, feet on the floor and your arms out to the side in a T position with the palms facing down. Bring your knees and feet together.
- Inhale, and as you exhale gently squeeze the knees together letting both knees twist towards the right, keeping the left upper back and shoulder on the floor. Inhale, and as you exhale return to centre.
- Repeat this to the left side and then continue slow, gentle twisting from side-to-side. Stay within a pain-free range of motion – you may only move the knees an inch or two side to side. You may also feel more comfortable practising this movement with a pillow squeezed between the thighs.
- Repeat this movement 5 times in each direction. On the last twist if it feels comfortable you could hold the pose for 5 breaths on each side. You may wish to place a few pillows underneath the bottom knee or between the knees to reduce the twist and for greater lower back comfort.
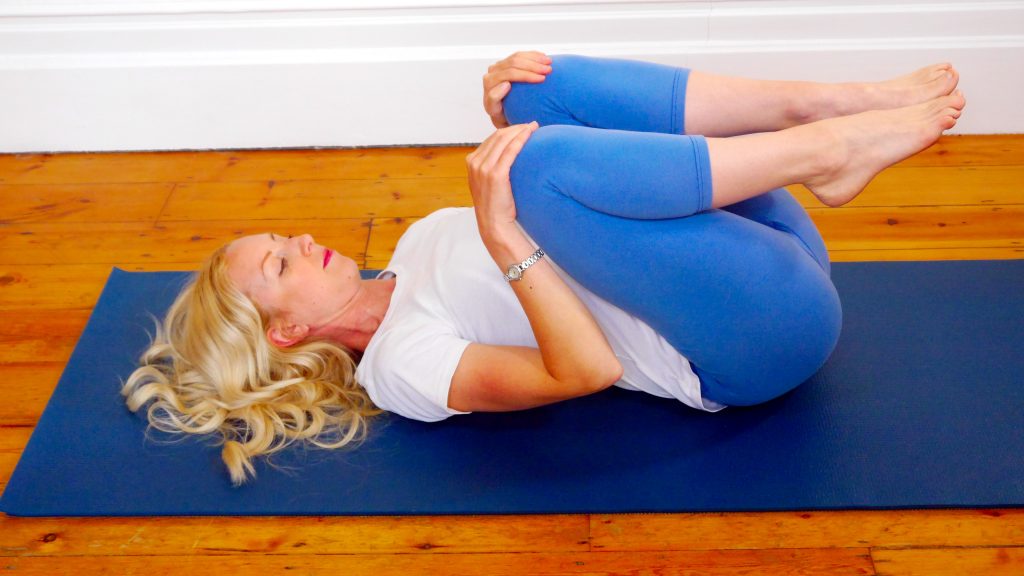
7. Double leg wind-removing pose
- Start with your knees bent and feet flat on the floor.
- On an exhale, gently bring your knees one at a time in towards your chest. Hold onto each knee with each hand and your arms straight.
- On your next exhale bend the elbows and gently pull the knees in closer towards the chest. As you inhale, allow your arms to straighten and knees to move back slightly away from your chest.
- Repeat this gentle rocking movement of the knees in and out 5 times. On the last repetition pull your knees into your chest, holding this position for 5 relaxed breaths.
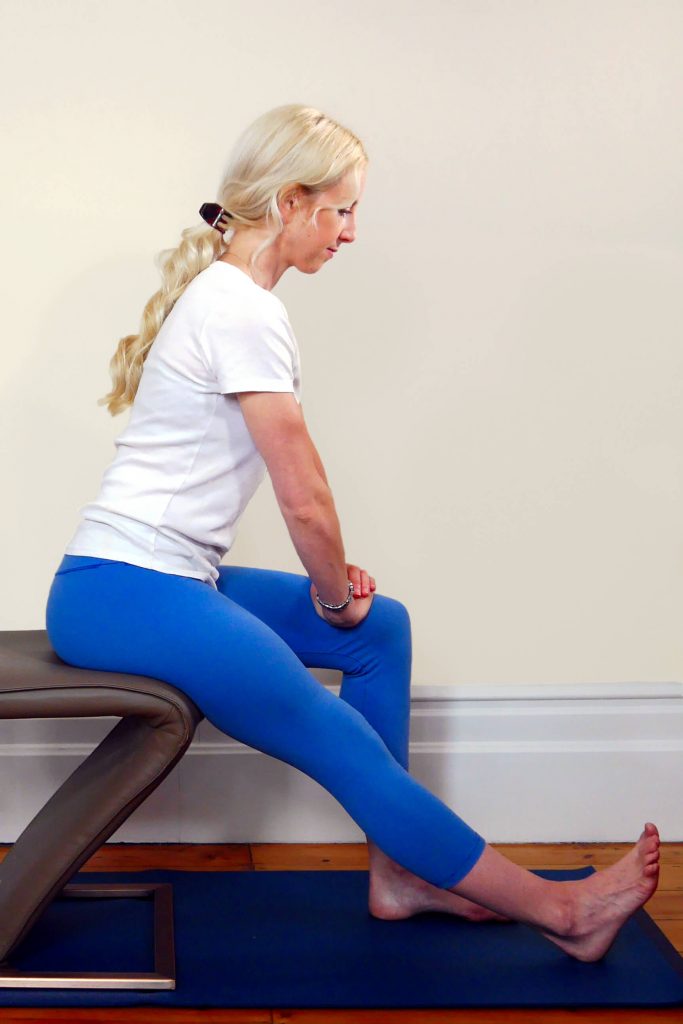
8. Seated hamstring stretch
- If you are doing this practice in bed, on an exhale, slowly roll onto your side with your knees bent and use your hands to press yourself up to sitting on the side of the bed.
- If you are doing this practice on the floor, carefully roll to your side and use your hands to support you to sitting and then to all fours and to standing. You can then use a chair to do this next pose.
- Stretch your right leg straight out in front with the right foot flexed, toes towards the kneecap. Engage the muscles of the right leg and thigh.
- Inhale sit up tall, exhale gently begin to hinge forwards from the hips over the right leg until you feel a stretch down the back of the right leg. Only hinge forwards as far as you can whilst keeping your back straight. Do not let your back round.
- Hold for 5 breaths and then switch sides.
Leave a Reply